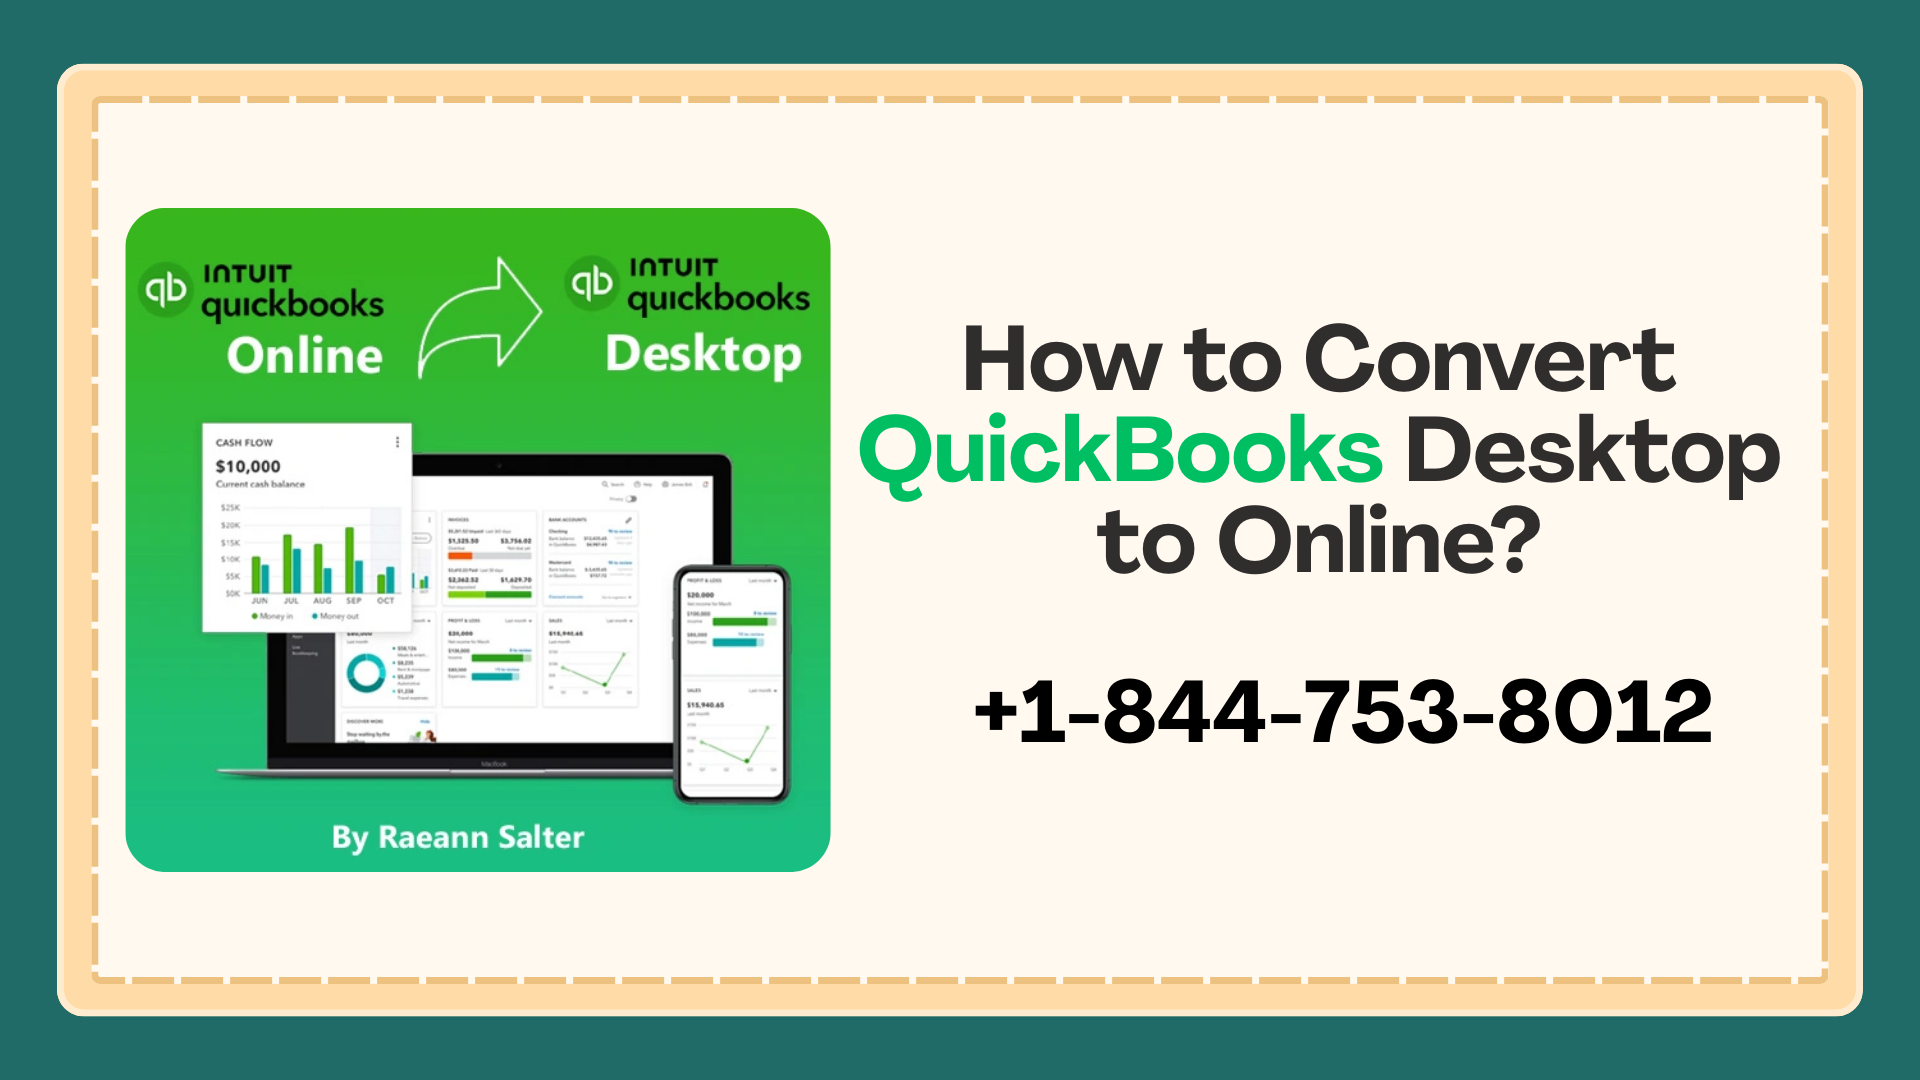
Are you finding out a perfect guide to convert QuickBooks Desktop to Online? Then, you are in the right place as we will assist you until the procedure of converting the file get successful. Well, it is quite common to switch from one software to another in between QuickBooks users. We all know, QuickBooks Online comes up with numerous features and functionalities and consists of advanced technologies. This might be the reason behind converting from desktop to online. The following article includes the complete steps of how to convert QuickBooks desktop to online. If you find any issues while converting your data, feel free to hire an expert by contacting our team.
Let’s take a look at the advantages of converting QuickBooks Desktop to Online.
Advantages of converting QuickBooks Desktop to Online
Here, we are listing some of the benefits of converting from QuickBooks Desktop to Online.
- The first advantage of converting all your files is that you can do it free of cost. You are free to import all your data to QuickBooks Online for free.
- Easy to compare reports of the current year to last year.
Things to remember before converting QuickBooks Desktop to Online
- You can convert all the data of the company files within 60 days after signing up to QuickBooks Online.
- If you have already set up payroll in QuickBooks Online, then you should have to move the lists rather than moving the company file.
- You have to keep in mind that all of your data can’t be converted because of features differences.
You May Also Read About: QuickBooks Online vs Desktop
How to convert QuickBooks Desktop to Online?
QuickBooks Online is utilized by small to mid-sized business owners and can be accessed from anywhere. Accessing the company files from anywhere and at any time is the main concern for any business owner. That’s why many owners want to export their files to QuickBooks Online. Below, you can find out the complete steps of exporting all the data into QBO.
Step 1: Check your data
- Firstly, choose the File Menu and click on Utilities.
- Now, select Verify.
- If you are facing any issues while trying to verify data, then verify Rebuild Data.
- After rebuilding the data, check whether the issue has been fixed or not.
Step 2: Check the company file size and save it in QuickBooks online format
In this step, you have to make sure that the size of the company file is not too big to export. After that, make a copy of the company file that should be compatible with QuickBooks Online by following the underneath steps.
- Choose the Files option and click on Utilities.
- After that, select Copy Company Files for QuickBooks Online.
- Now, save the file on the Desktop.
- Finally, these steps will help you in creating a new file with the extension OE.qbw.
Step 3: Importing QuickBooks Desktop File to QuickBooks Online
Keep in mind to use a trial version to convert QuickBooks Desktop to Online if you are currently using a version older than 2018. Now, follow the underneath steps accordingly.
To convert QuickBooks Desktop Pro or Premier
- The initial step is to sign in as an Admin to the company file that needs to be imported.
- After that, choose the File Menu and click on the Export Company File to QuickBooks Online.
- Click on Start your Export and sign in to the QBO Company.
- Follow these steps only when you are managing inventory in QuickBooks Desktop.
- Choose Yes and identify the as of date.
- Click on No if you don’t want to bring them over and set up new items in QBO.
- And then, click on the Choose Online Company drop-down and select the QuickBooks Online Company.
- Next, click on Continue and select Agree in the text field.
- Choose Replace and click on the Yes, go ahead and replace the data option.
- Finally, choose Replace.
To convert QuickBooks Desktop Enterprise
If you are using QuickBooks Desktop Enterprise such as advanced inventory and advanced reporting, then you are recommended starting fresh because all your data will not get converted to QuickBooks Online. However, you want to convert your QuickBooks Desktop Enterprise, follow the steps written below.
- First of all, sign in to the company file that needs to be imported by entering Admin credentials.
- And then, press Ctrl + 1 keys to launching the Product Information window.
- Next, press and hold the Ctrl + B + Q keys to open the export window.
- Click on the Get Started option.
- After that, sign in as an admin to the QuickBooks Online Company.
- Now, you have to follow these steps if you are tracking inventory in QuickBooks Desktop.
- Choose Yes and identify the as of date.
- Click on No if you don’t want to bring them over and set up new items in QBO.
- Click on the QuickBooks online company that needs to be replaced.
- Next, click on Continue.
- In the text field, choose Agree and then click on Replace.
- Finally, click on Yes, go ahead and replace the data and then choose Replace.
Step 4: Check if the import is successful
- In the first step, you need to run a report (profit and loss) on the QuickBooks Desktop by the accrual basis method.
- And then, run the same report on the accrual basis in QuickBooks Online.
If both of the reports match, then you are good to go to start with QuickBooks Online. In case, the reports did not match, then follow the steps mentioned below.
- You have to check what data doesn’t convert while migrating from QuickBooks Desktop to online for example, missing transactions or mismatch reports. Below, we are listing down how the books convert from QuickBooks Desktop to Online.
- Vendors, customers, and jobs
- Users and permissions
- Targets and terms
- Reminders, sales tax, and targets
- QuickBooks payments and recurring transactions
- Prices levels, printing mailing labels, purchase orders, pending sales
- Documents, discounts, finance charges, estimates, etc.
- If you are still facing issues in converting QBD to QBO, get in touch with our experts.
You May Also Read About: Sage Timeslips Database Error
Final words!
Well, having the right guidance about ‘how to convert QuickBooks Desktop to Online?’ can be crucial. However, we ensure you that the above post can direct you throughout the complete procedure of converting QuickBooks Desktop to Online. This process can be a bit difficult for the one who is not technically aware of the QuickBooks software. If you are also looking for an expert who can convert your QuickBooks Desktop, then no need to worry. One of our experts can help you out.
For any further inquiries, you can give us a call today at our toll-free QuickBooks Support Phone Number 1-888-487-1720 to get instantaneous assistance.
FAQ’s
Q1: How can you transfer QuickBooks desktop to online?
Ans: Underneath are the steps that can help you in transferring QuickBooks desktop to online.
- First of all, you need to check the size of the company file.
- After that, prepare the QuickBooks desktop data to export to QBO.
- Now, make a new QuickBooks Online account.
- Export Company files to QuickBooks Online after signing in to the QBO account via the desktop application.
Q2: How long does it take to import the company file data from QuickBooks Desktop to Online?
Ans: The procedure of converting QuickBooks desktop to online may take about 30 minutes. Ensure that the QuickBooks desktop is running till the procedure gets completed.
Q3: How to resolve errors while converting desktop to online?
Ans: Undergo the steps to fix errors while importing company data files from desktop to online.
- First of all, export the company data of the QuickBooks desktop and then click on the QuickBooks version.
- Follow ongoing instructions and access the company file.
- Next, press and hold the Ctrl + 1 keys altogether to launch the Product Information window.
- Finally, connect to QBO and import the company file data.
Q4: Which items cannot be converted from QuickBooks Desktop to Online?
Ans: You can’t convert custom fields on customers, employees or items, & suppliers. Although you can add up to 3 custom fields on transactions and forms.
Q5: How to import old data into QuickBooks?
Ans: Follow the below-mentioned steps to import the previous data.
- The first step is to log in to the new account and choose the Gear icon.
- After that, click on the Import Data option under Tools.
- Choose the data type that needs to be imported.
- Now, select browse to choose the company file.
- Finally, click on Next.