
If you manage multiple companies within QuickBooks, you may wonder:
“Can I have different customized layouts for different companies on my account?”
The short answer is yes—but with important conditions. QuickBooks allows you to create and manage customized layouts separately for each company file, helping you maintain unique branding, formatting, and reporting styles for every business you handle.
In this blog, we’ll explain how customized layouts work in QuickBooks, how to set them up for different companies, common limitations, and best practices to avoid confusion. If you need expert help, you can always contact QuickBooks Support at 844-753-8012.
Understanding Customized Layouts in QuickBooks
Customized layouts in QuickBooks allow you to personalize documents such as:
-
Invoices
-
Sales receipts
-
Estimates
-
Purchase orders
-
Reports
You can customize layouts by adjusting:
-
Logo and branding
-
Fonts and colors
-
Column placement
-
Fields and labels
-
Footer messages
Each QuickBooks company file works independently, which means layouts are company-specific, not account-wide.
Also Read: QuickBooks Tool Hub Issue: How to Troubleshoot and Fix Common Problems
Can I Have Different Customized Layouts for Different Companies?
Yes. Each company file in QuickBooks has its own set of customized layouts.
This means:
-
Layouts created in Company A do not affect Company B
-
Branding and formatting stay unique per company
-
You must customize layouts separately for each company file
This is especially useful for:
-
Accountants managing multiple clients
-
Business owners with multiple entities
-
Franchises or subsidiaries using QuickBooks
Key Requirement: Separate Company Files
To use different customized layouts, each company must have:
-
Its own QuickBooks company file
-
Separate login access (QuickBooks Online) or file location (QuickBooks Desktop)
QuickBooks does not support multiple companies sharing the same layout settings within one company file.
How to Set Up Different Customized Layouts for Each Company in QuickBooks
Step 1: Open the Correct Company File
Before customizing anything:
-
Log in to the specific company file you want to customize
-
Double-check the company name at the top of the screen
This prevents accidentally editing layouts for the wrong company.
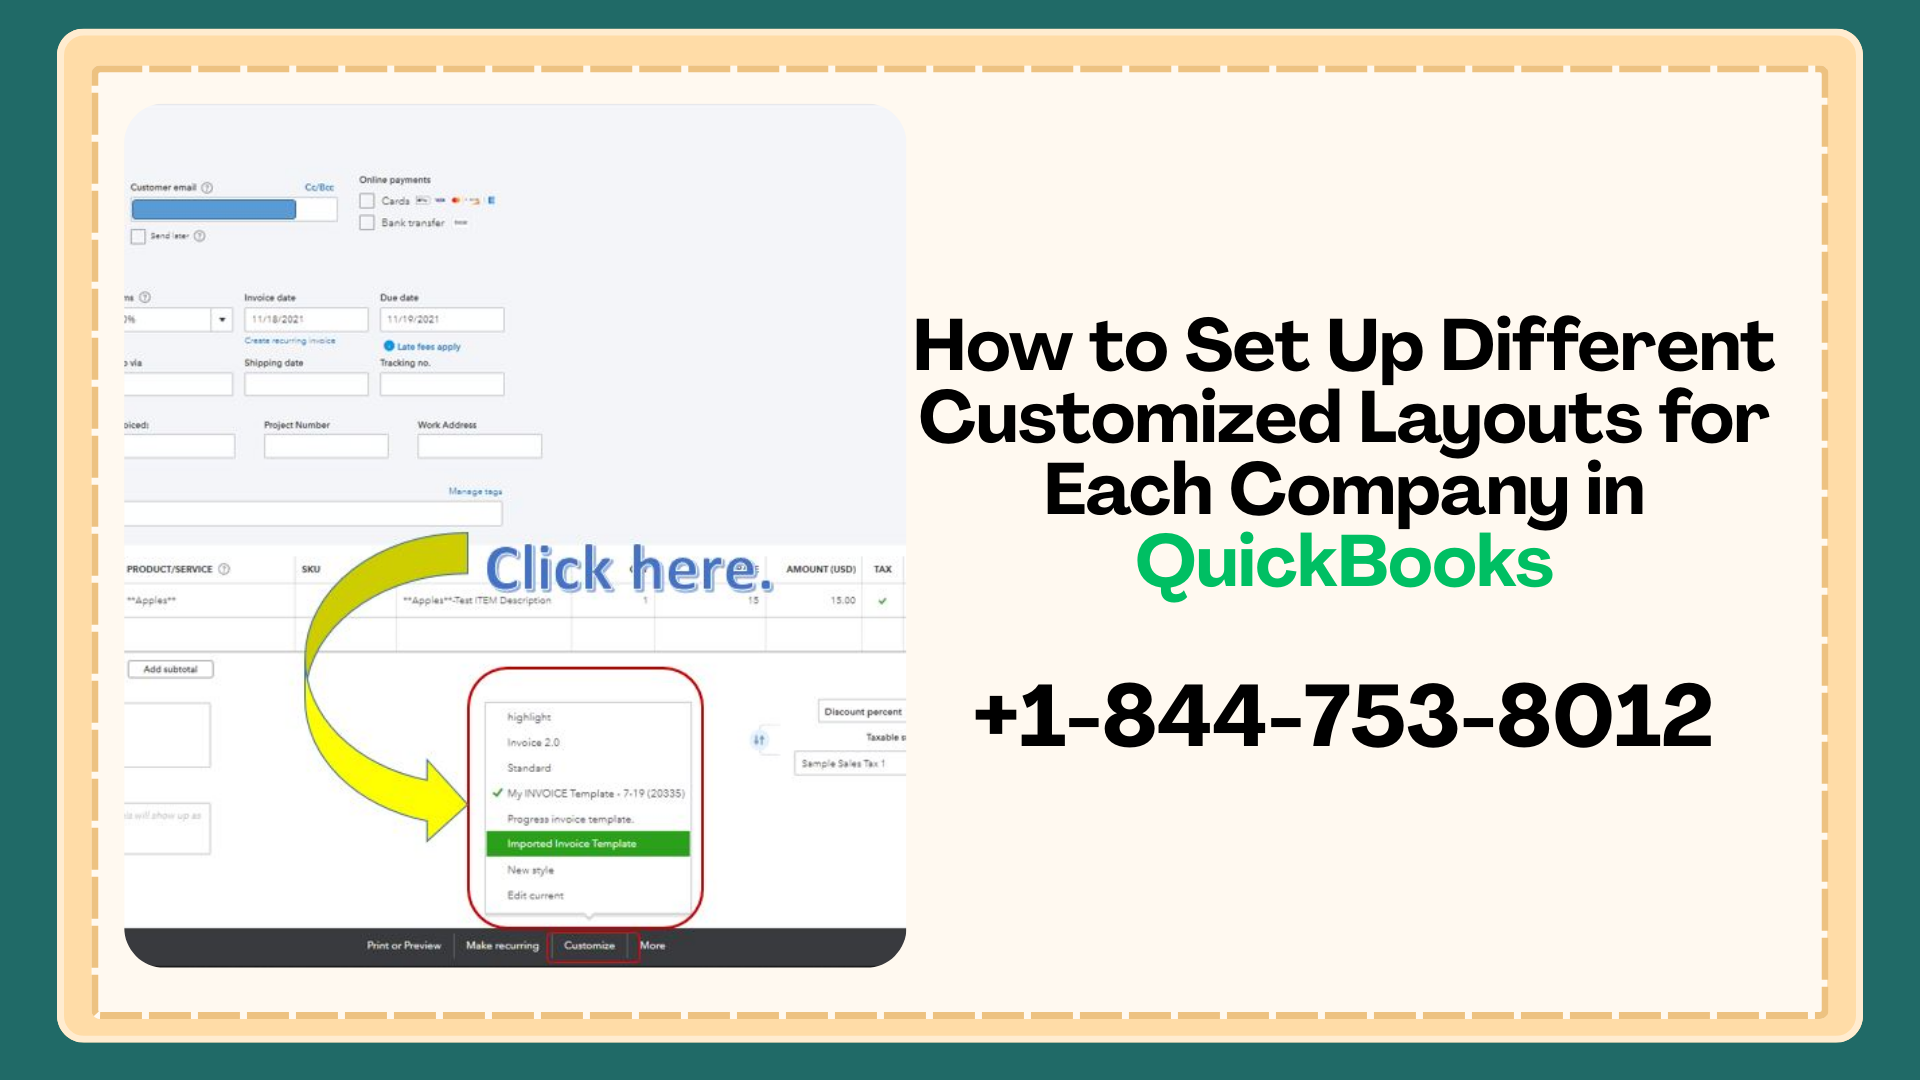
Step 2: Access Custom Form Styles (QuickBooks Online)
-
Go to Settings ⚙ → Custom Form Styles
-
Choose the document type (Invoice, Estimate, Sales Receipt)
-
Click New Style or edit an existing one
For QuickBooks Desktop:
-
Go to Lists → Templates
-
Select the template you want to customize
Step 3: Customize Layout and Branding
You can now customize:
-
Company logo
-
Color scheme
-
Font styles
-
Field visibility (e.g., PO number, shipping address)
-
Column order and labels
Each company can have a completely different look and structure.
Step 4: Save and Name Layouts Clearly
Use clear naming conventions such as:
-
“Company A – Invoice Layout”
-
“Company B – Professional Invoice”
-
“Company C – Retail Sales Receipt”
This avoids confusion when switching between companies.
Step 5: Repeat for Each Company File
Log out or switch company files and repeat the customization steps for each business.
Remember: Layouts do not transfer automatically between companies.
Managing Multiple Layouts Within One Company
Within a single company file, QuickBooks also allows:
-
Multiple layouts for different purposes
-
Different layouts for different customers
-
Custom layouts for invoices vs. estimates
However, these layouts remain exclusive to that company only.
Common Limitations to Be Aware Of
While QuickBooks is flexible, there are a few limitations:
-
Layouts cannot be shared across company files automatically
-
You must recreate layouts manually for each company
-
Some advanced layout controls are limited in QuickBooks Online compared to Desktop
If you need help replicating layouts efficiently, call 844-753-8012 for expert assistance.
Best Practices for Multiple Company Layouts
-
Create a layout checklist
Keep a record of fonts, colors, and fields for consistency. -
Use consistent naming conventions
This helps when managing multiple companies daily. -
Backup company files (Desktop)
Always back up before making layout changes. -
Test layouts before sending
Preview invoices and reports to avoid formatting issues. -
Limit user permissions
Prevent accidental changes by restricting layout access.
Troubleshooting Customized Layout Issues
Issue: Layout changes not saving
-
Check user permissions
-
Clear browser cache (QuickBooks Online)
-
Update QuickBooks Desktop to the latest version
Issue: Wrong layout showing
-
Set the correct layout as default
-
Verify customer-specific settings
Issue: Layout missing after switching companies
-
Layouts are company-specific and must be recreated
For persistent issues, contact QuickBooks Support at 844-753-8012.
Conclusion
QuickBooks makes it possible to manage different customized layouts for each company, as long as each business has its own company file. This ensures clear branding, professional documents, and organized reporting across multiple businesses.
By carefully setting up and managing layouts per company—and following best practices—you can save time, reduce errors, and present a professional image for every business you manage.
If you need help creating or troubleshooting customized layouts, don’t hesitate to call QuickBooks Support at 844-753-8012 for expert guidance.
Frequently Asked Questions (FAQs)
No, QuickBooks does not currently allow direct copying of layouts between company files.
Yes, each company file supports unique branding and layout customization.
No, layouts are tied to individual company files, not the main account.
Yes, you can create multiple layouts and choose which one to use.
You can contact QuickBooks experts at 844-753-8012 for setup and customization support.