
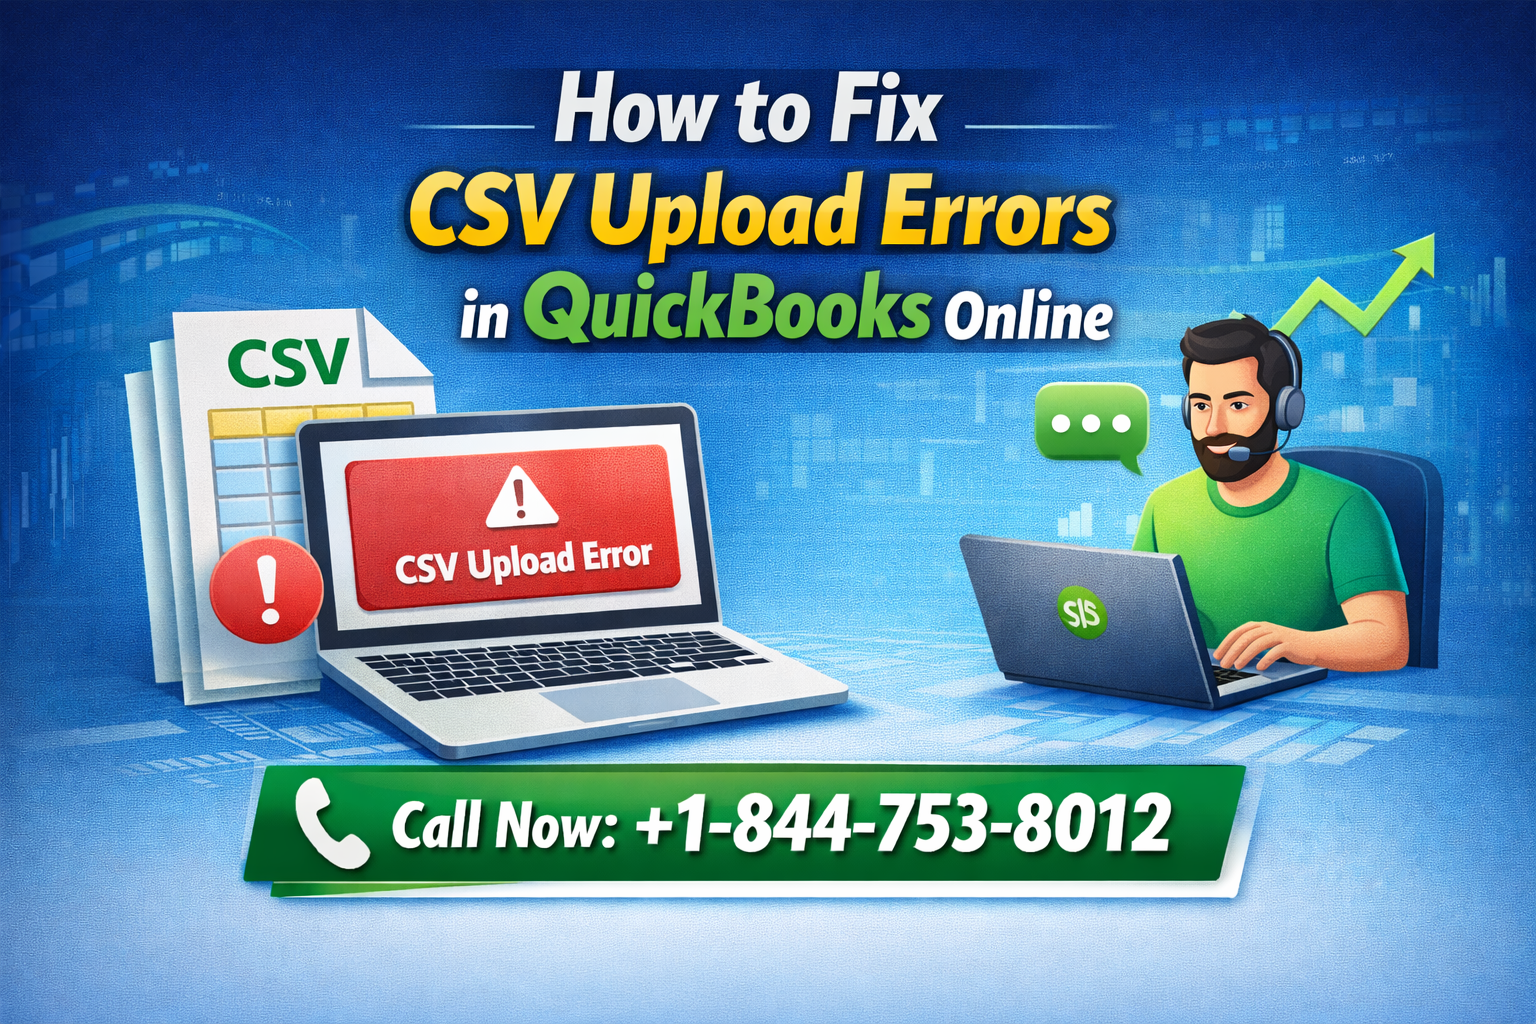
Uploading CSV files is one of the fastest ways to import large amounts of data into QuickBooks Online. Whether you’re adding customers, vendors, invoices, or bank transactions, a QuickBooks Online CSV upload saves time compared to manual entry. However, many users encounter errors when trying to upload CSV to QuickBooks Online, which can cause frustration and delay critical bookkeeping tasks.
In this guide, we’ll explain why QuickBooks Online CSV upload errors occur and provide step-by-step solutions to fix them, ensuring your data is imported accurately.
Why You Might Encounter CSV Upload Errors in QuickBooks Online
Several factors can trigger errors when trying to upload CSV to QuickBooks Online:
- Incorrect File Format
QuickBooks Online only supports specific CSV formats. Using a file exported from Excel with hidden characters or incompatible delimiters can cause errors. - Missing Required Fields
Some fields, such as customer name, email, or account numbers, are required. Omitting them can result in a QuickBooks Online import error. - Data Exceeds Character Limits
Fields like notes or descriptions have maximum character lengths. If exceeded, QuickBooks may reject the file. - Duplicate Entries
Uploading duplicate customers, vendors, or transactions may trigger QuickBooks CSV file not uploading errors. - Incorrect Date or Number Formats
QuickBooks expects dates in MM/DD/YYYY format and numbers without extra symbols (like $ or commas). - Special Characters
Characters such as &, %, #, or emojis can cause QuickBooks Online CSV import troubleshooting issues.
Also Read: How to Prepare IRS Form 941 in QuickBooks Desktop: Complete Step-by-Step Guide
Step-by-Step Guide: How to Fix CSV Upload Errors in QuickBooks Online
Follow these steps to resolve common CSV upload errors in QuickBooks Online:
Step 1: Check Your CSV File Format
- Ensure your CSV file is comma-delimited (.csv)
- Avoid Excel-specific formats like .xls or .xlsx
- Remove hidden spaces, special characters, and extra formatting
Step 2: Verify Required Fields
- Ensure all mandatory fields are included (e.g., customer name, transaction date, amount)
- Use QuickBooks Online’s sample CSV template if available
Step 3: Correct Data Formats
- Use MM/DD/YYYY for dates
- Remove currency symbols ($) and commas from numeric fields
- Check for extra spaces or invalid characters
Step 4: Remove Duplicates
- Compare entries in your CSV file with existing QuickBooks records
- Delete duplicates or combine them into a single entry
Step 5: Split Large Files
- QuickBooks Online has upload limits for rows per file
- Split large CSVs into smaller files if necessary
Step 6: Import Your CSV File Correctly
- Go to Settings → Import Data in QuickBooks Online
- Select the type of data you want to import (customers, vendors, invoices, etc.)
- Upload the CSV file
- Map the fields from your CSV to QuickBooks fields
- Review for errors and click Import
Step 7: Troubleshoot Specific Errors
- Error: “Cannot upload file” – Check file format and remove special characters
- Error: “Duplicate name exists” – Remove duplicates from CSV
- Error: “Invalid date format” – Correct dates to MM/DD/YYYY
- Error: “Column mismatch” – Map all required fields correctly in QuickBooks Online
QuickBooks Desktop CSV Upload
For QuickBooks Desktop users, CSV upload works similarly but with a few differences:
- Go to File → Utilities → Import → Excel Files
- Convert CSV to Excel format if needed
- Map fields carefully to QuickBooks Desktop accounts, customers, or vendors
- Save and review the imported data
Tip: Some QuickBooks Desktop versions require additional add-ons for direct CSV import.
Also Read: How to Manually Add 1099-R and SSA-1099 Income in QuickBooks Self-Employed
Best Practices for QuickBooks Online CSV Upload
- Use QuickBooks Templates – Always use the CSV template provided by QuickBooks Online to avoid formatting issues.
- Clean Your Data – Remove blank rows, special characters, and duplicate entries before uploading.
- Test with Small Files – Upload a small portion of your data first to verify accuracy.
- Keep Backups – Always keep a copy of the original CSV file in case you need to re-upload.
- Monitor Errors – QuickBooks Online provides error reports; address each error before proceeding with a full import.
When to Get Expert Help
If you continue to face QuickBooks Online file upload not working errors or large CSV import issues, it may be time to seek professional assistance. Incorrect imports can cause duplicate records, missing transactions, or corrupted data.
📞 Call 844-753-8012 for expert support with QuickBooks Online CSV upload errors and data import troubleshooting.
Common Questions About QuickBooks CSV Upload
- Can I upload multiple CSV files at once?
QuickBooks Online allows one CSV per import session. Split large files to avoid errors. - Does QuickBooks Online support Excel files?
Yes, but the file must be saved in .CSV format before uploading. - Will uploading CSV overwrite existing data?
No, QuickBooks will attempt to add new records. Duplicates may trigger errors. - Can I import payroll data via CSV?
Payroll data usually requires QuickBooks Online Payroll integration; CSV imports may not support all payroll fields.
Also Read: How to Create a New QuickBooks Company File from Existing Data
Final Thoughts
Uploading CSV files to QuickBooks Online is a powerful way to manage large data efficiently, but errors are common due to formatting, missing fields, or duplicates. By following this step-by-step guide to fix CSV upload errors, you can ensure smooth imports and accurate accounting records.
For professional help with QuickBooks Online CSV upload errors or QuickBooks CSV import troubleshooting, call 844-753-8012 and get your data uploaded safely and accurately.
FAQ Section: QuickBooks Online CSV Upload
A. CSV upload errors usually occur due to incorrect file formatting, missing required fields, duplicate entries, or invalid date and number formats.
A. Ensure your CSV uses the correct format, includes all mandatory fields, removes duplicates, corrects date and number formats, and uses QuickBooks Online’s sample template if available.
A. Yes. QuickBooks Desktop supports CSV upload via File → Utilities → Import → Excel Files, and you may need to convert CSV files to Excel format first.
A. Map all required fields from your CSV to QuickBooks fields carefully. Check for missing columns or incorrect headers.
A. No, QuickBooks Online adds new records, but duplicate entries may trigger errors. Always review and clean data before uploading.
A. Call 844-753-8012 for expert support to fix QuickBooks Online CSV upload errors and troubleshoot data import issues.